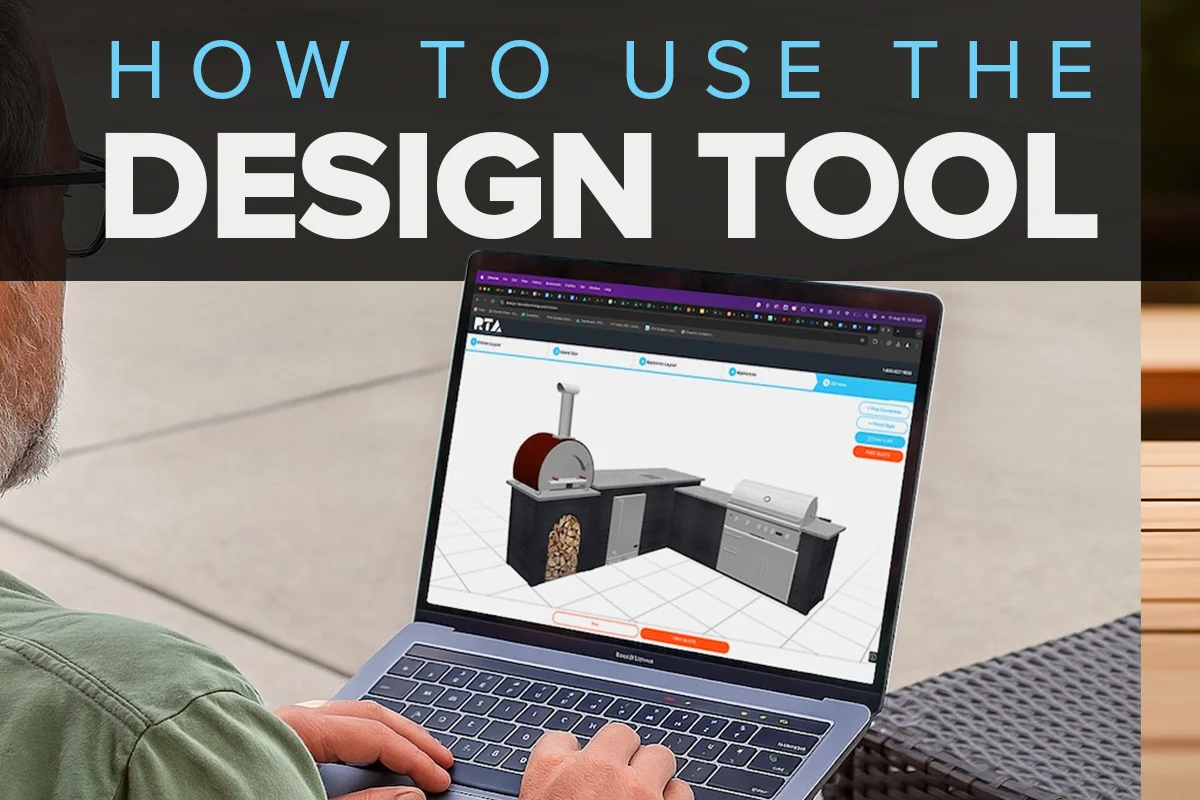
If you’ve been thinking about creating a custom outdoor kitchen design… at some point, you’ve likely come across RTA Outdoor Living’s free online design tool.
If you haven’t taken the plunge quite yet, you might be wondering how to use it. Is RTA’s design tool complicated? If you’ve been nervous about giving the design tool a try… there’s nothing to fear! With some guidance and expert pointers, navigating your way around the RTA design tool is actually quite simple.
In this article, you will learn how to use the RTA Outdoor Living design tool, and expert tips for using the tool from our design team.
How to Use the RTA Outdoor Living Design Tool
There are 5 steps involved with using the RTA Outdoor Living design tool: kitchen layout, island size, appliance layout, appliance selection, and 3D view.
1. Kitchen Layout

First, you will select your desired outdoor kitchen layout. You can choose from linear, l-shaped, u-shaped, or galley designs. Depending on which layout you select, you’ll get several different options to choose from as a starting point.
For example, if you’re designing an L-shaped outdoor kitchen, you might select “L-Shaped, Bar Left”.
2. Island Size

Next, you’ll be able to choose the length of each island. In the center of the screen, the island highlighted in blue is the one you’re selecting length for. Just click and drag on the black circle to select your island length.

3. Appliance Layout
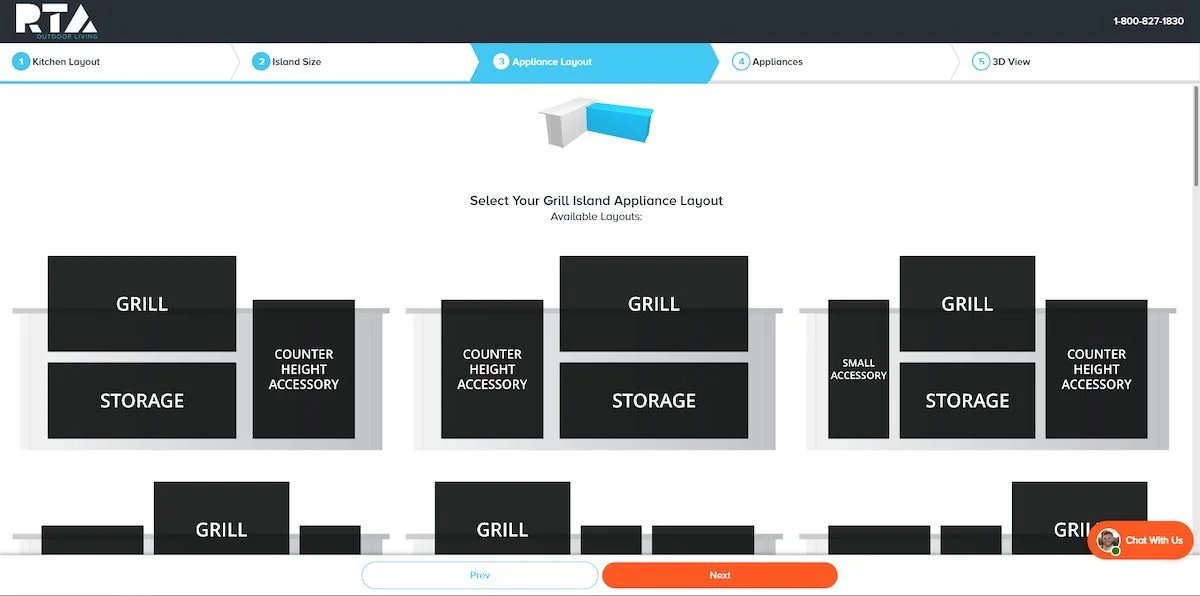
After island size, you’ll have to select your island layout. You’ll be presented with a ton of different options of how your appliances could be laid out in each island. No worries about choosing “wrong”, you can always go back and try something else!
4. Appliance Selection
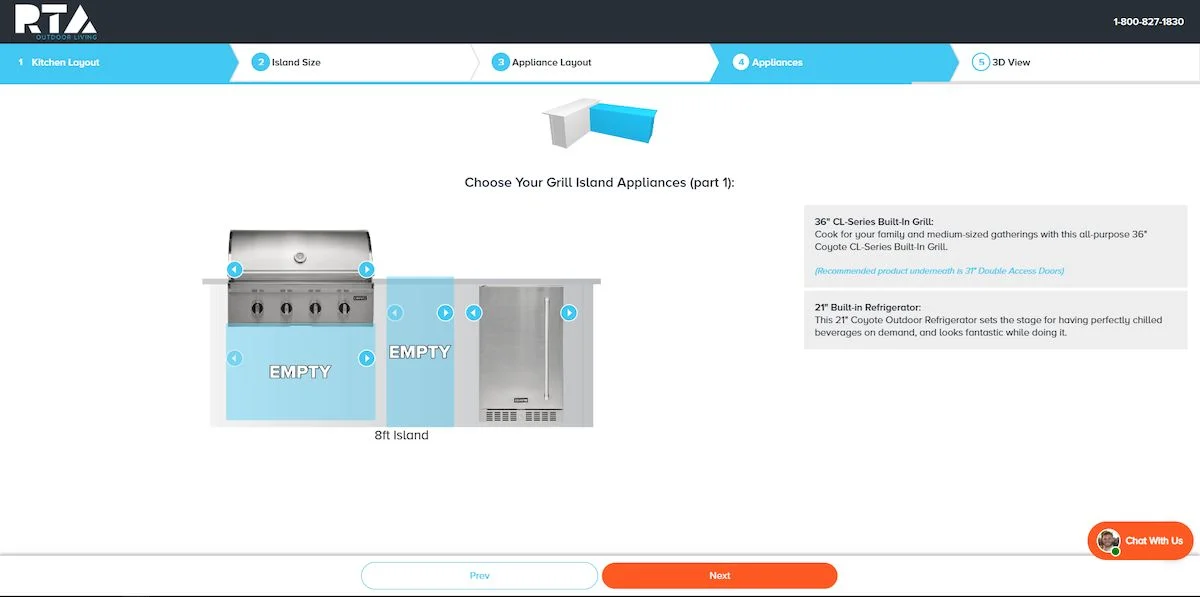
When you move to step 4, you’ll get to pick all of your outdoor appliances. All of the layout spaces will start off as empty, and you just click through the arrows to cycle through all the potential options. You can also click directly on the appliance to see the options all at once.
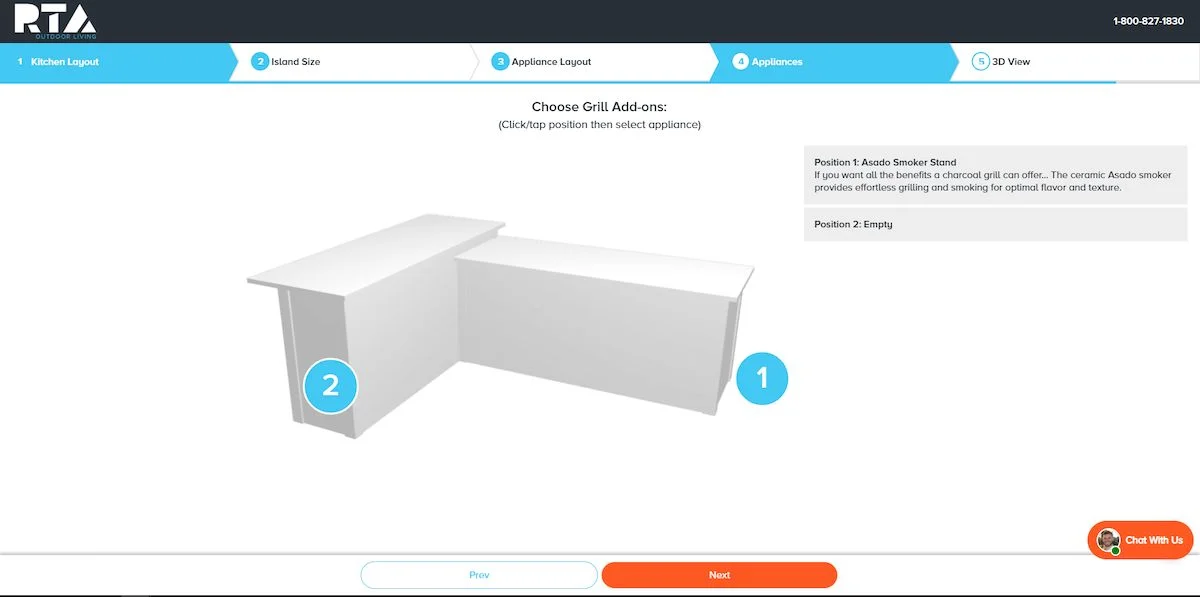
You’ll also have the option to select a “grill add-on”. You can either add a small pedestal island with an asado smoker, or a small pizza oven stand.
5. 3D View

Finally, you’ll see all your hard work has paid off! In this step, you’ll see a 3D rendering of the design you just created in front of you. On the right side of the screen, you can toggle between different countertops and finish options to further customize.
You can also click “See in My Backyard”, which will send an AR link to your smartphone. This will use your phone’s camera and superimpose your outdoor kitchen design on it, so you can go into your backyard and see how it looks! There’s also a free quote button if you’re looking for more information about this design.
Expert Tips for Using the RTA Outdoor Living Design Tool

Now that you know how to use the RTA Outdoor Living design tool… as you’re creating your first design, what are some things you should keep in mind? Here’s a few tips our Design Experts recommend:
- Bigger isn’t Always Better: When you’ve got so many options, it’s easy for your eyes to be bigger than your stomach! It’s an easy temptation to oversize islands and pack in more appliances than you really need. When you’re creating a design, try to think about the backyard space you have available, what appliances you’ll actually use, and how you plan to use your outdoor kitchen long-term.
- Don’t Forget Counter Space & Storage: BBQ grills, pizza ovens, and griddles are exciting appliances to add to your outdoor kitchen, but packing in too many appliances often comes at the expense of functionality. Make sure your design includes enough counter space and storage, so you don’t end up with an impractical outdoor kitchen down the line. There’s nothing more frustrating than not having any counter space to put anything, or any storage to keep your utensils outside!
- Be Mindful of Fuel Source: If you’re going to use liquid propane as a fuel source, consider where these tanks will be stored in your outdoor kitchen layout. Generally, a good rule of thumb is to always make sure you have an access door underneath each cooking appliance.
- Consider Utilities: While it’s exciting to consider the potential of electric refrigerators and outdoor sinks… the reality is, hooking up utilities is a complicated business! Don’t get your heart set on an outdoor sink before you’ve considered what will need to be done to get it properly plumbed.
- Think about Seating Capacity: If you want a bar island with seating, consider your seating capacity. How many people do you want to be able to sit at the bar at once? This will impact how long you need the bar island to be.
After getting some expert design tips under your belt… perhaps it’s time to give RTA’s free online design tool a whirl. Start your design here, and let us know how it goes!