


So you’re in the middle of planning a DIY outdoor kitchen project.
That’s fantastic!
In the midst of all this excitement… You’re beginning to compile your task list.
And one of the most important tasks you’ll complete?
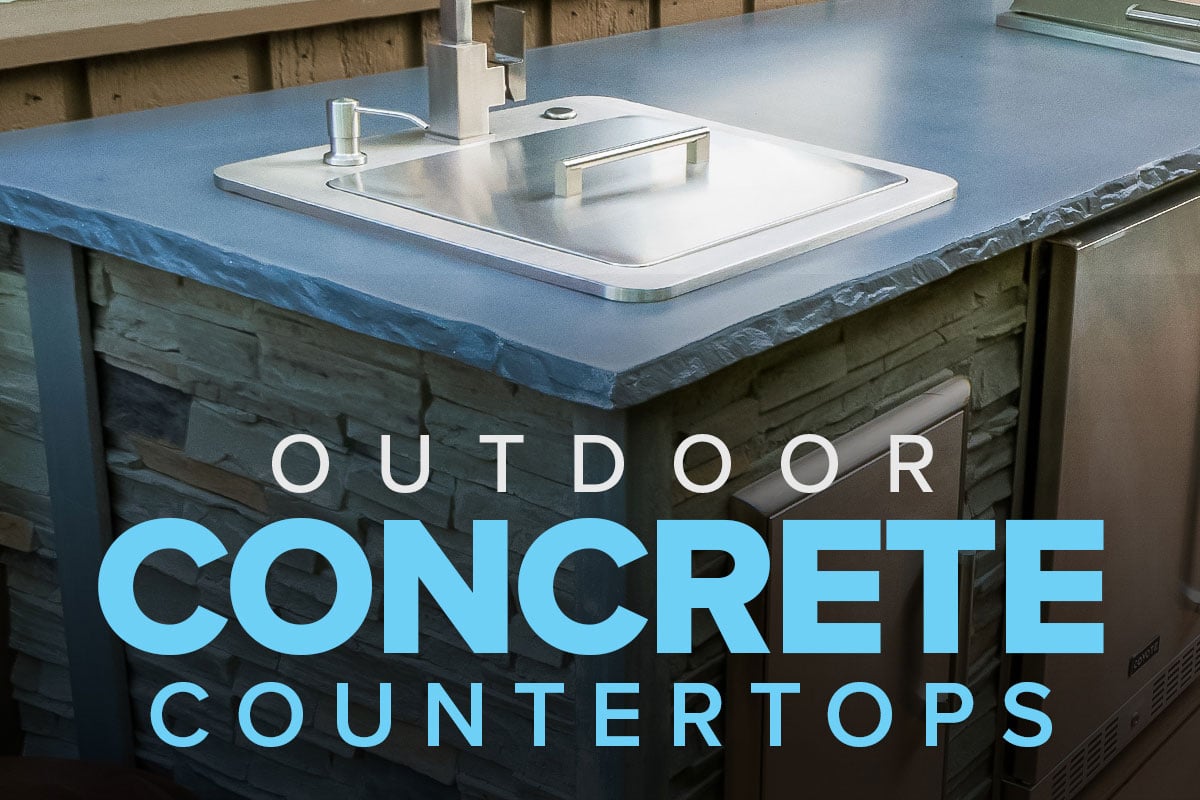
Making your very own outdoor concrete countertops.
But is it as simple as the DIY influencers online make it look?
In this article, we’ll get into every last detail involved in making your own concrete outdoor kitchen countertops. And by the time you’re through… you’ll get a better understanding of if this project is best left to the experts, or not!
Let’s hop in.
Tools & Supplies for Outdoor Kitchen Concrete Countertops
Before starting any DIY project… You’ll need to gather the tools and materials for your outdoor kitchen countertop.
Here’s the general list to get started for your concrete countertop:
Tools
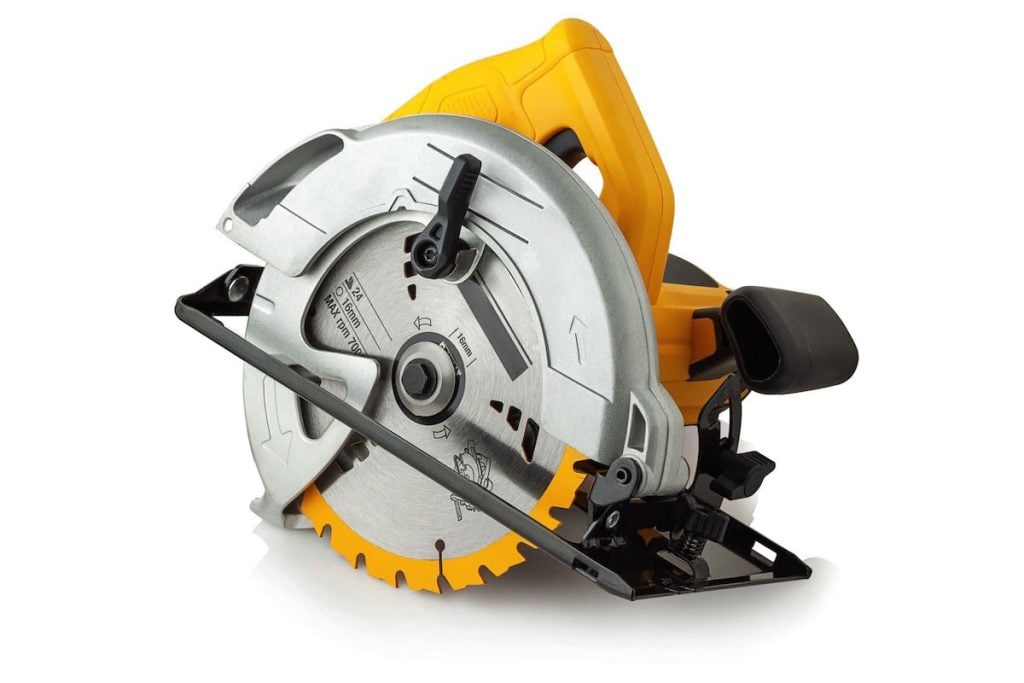
Circular Saw
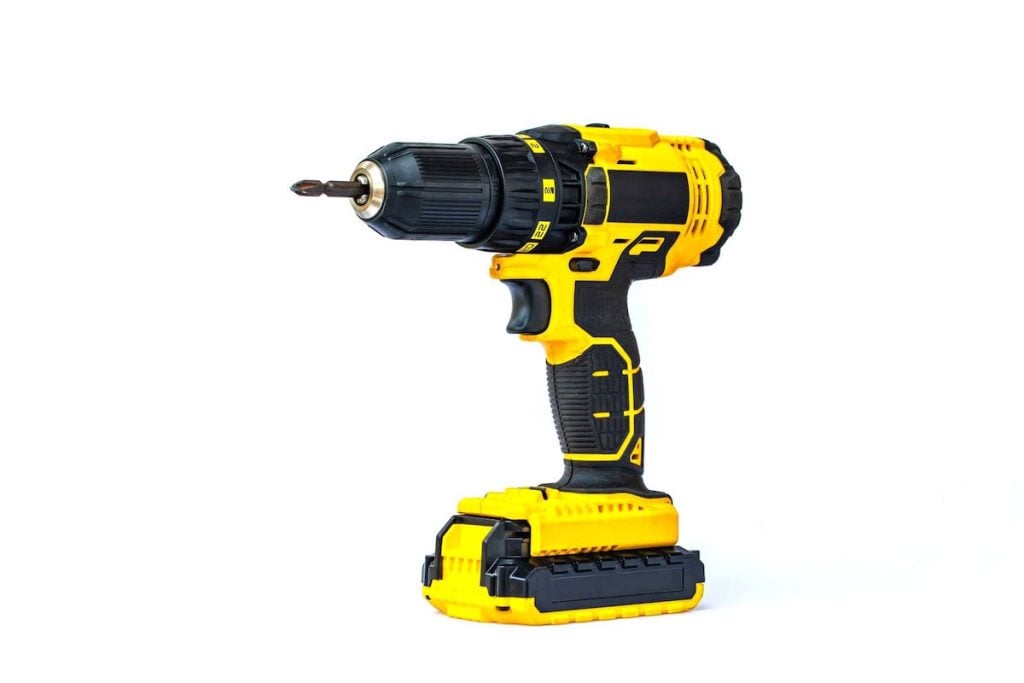
Power Drill
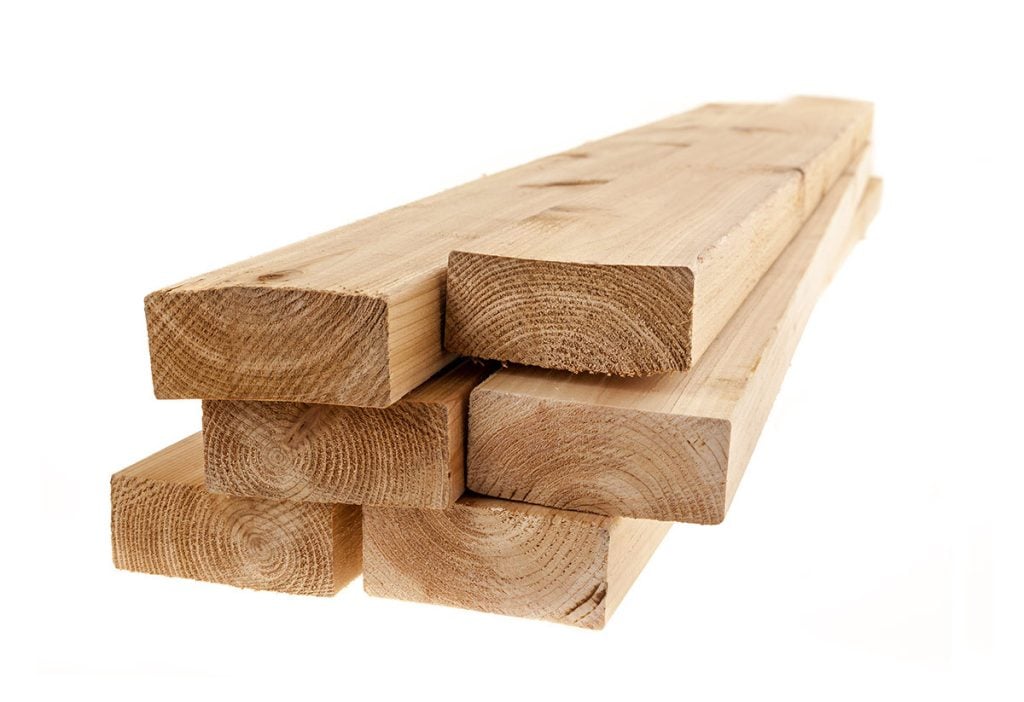
2×4 Plank
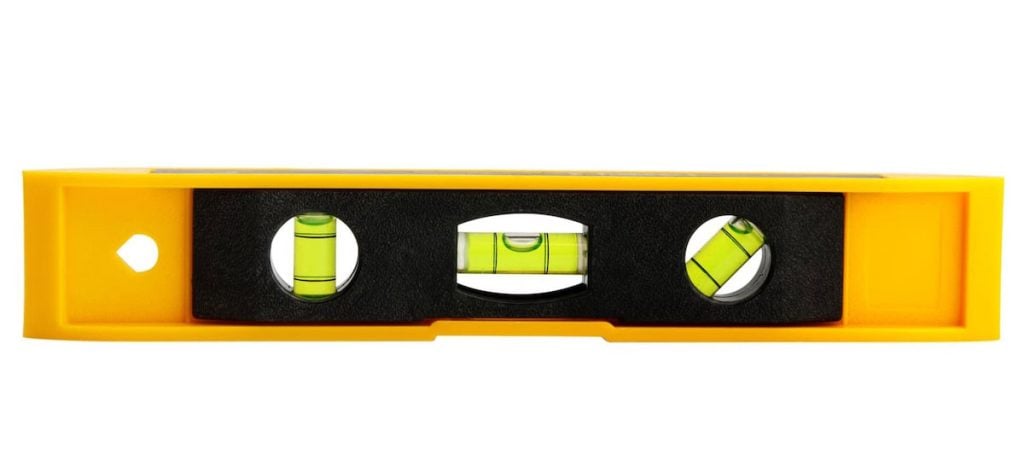
Level
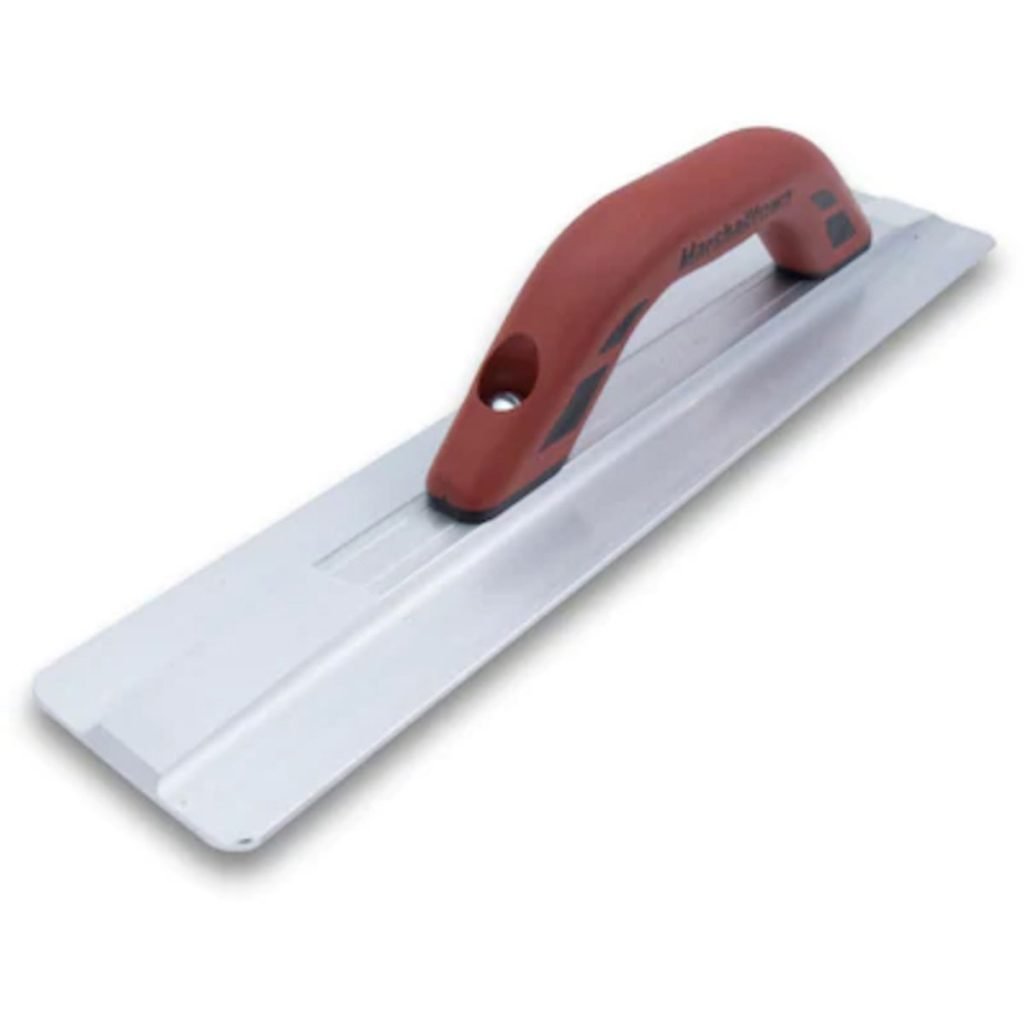
Magnesium Float
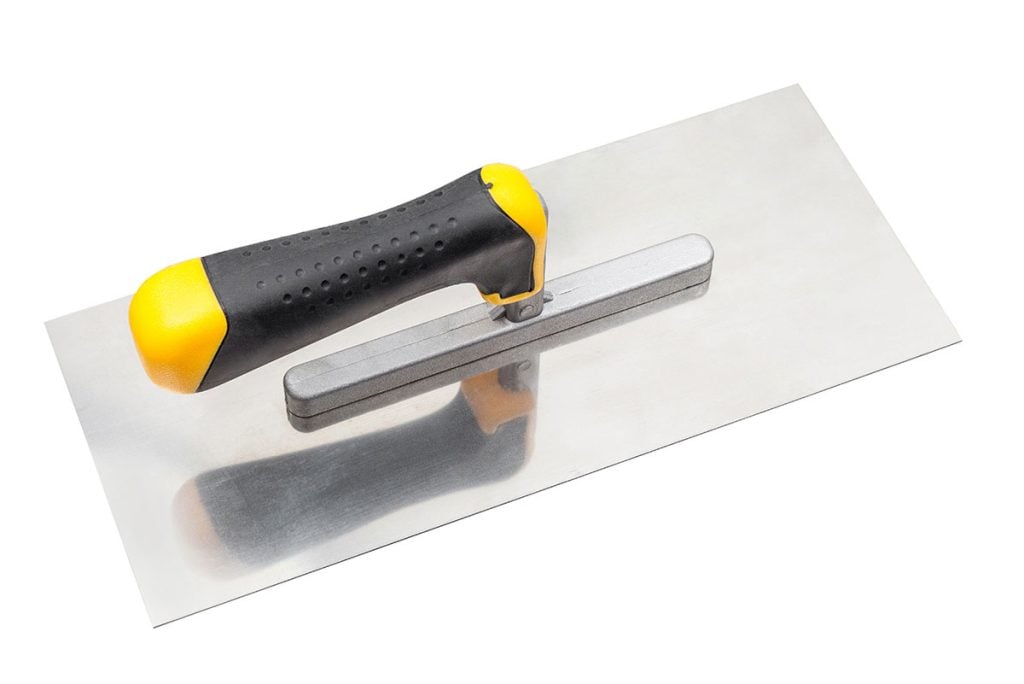
Steel Trowel
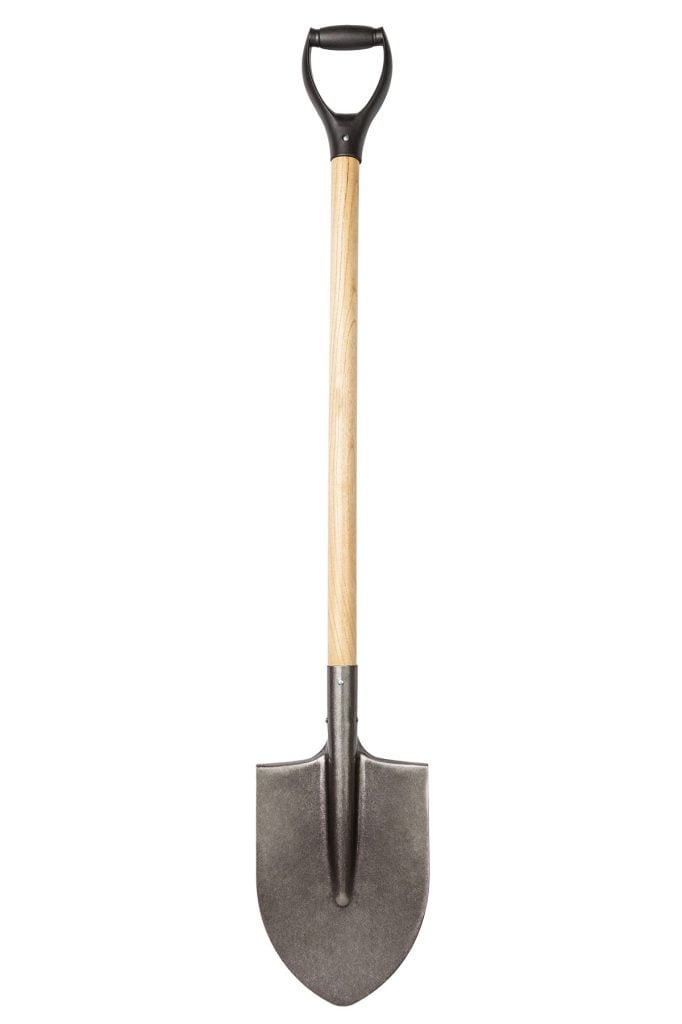
Concrete Mixer or Shovel

5 Gallon Bucket or Wheelbarrow
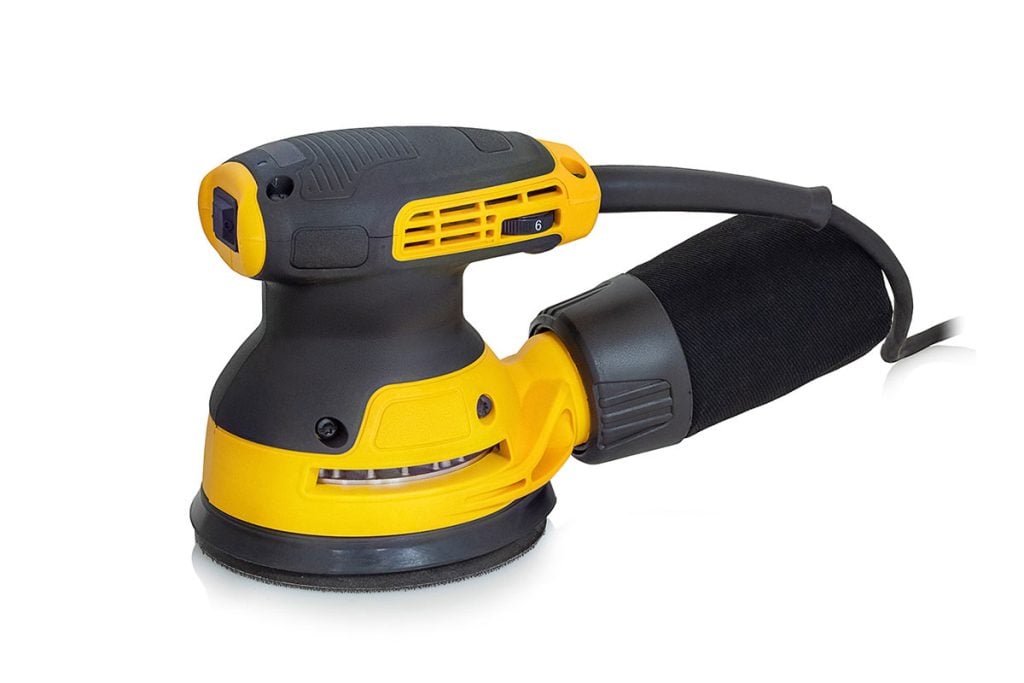
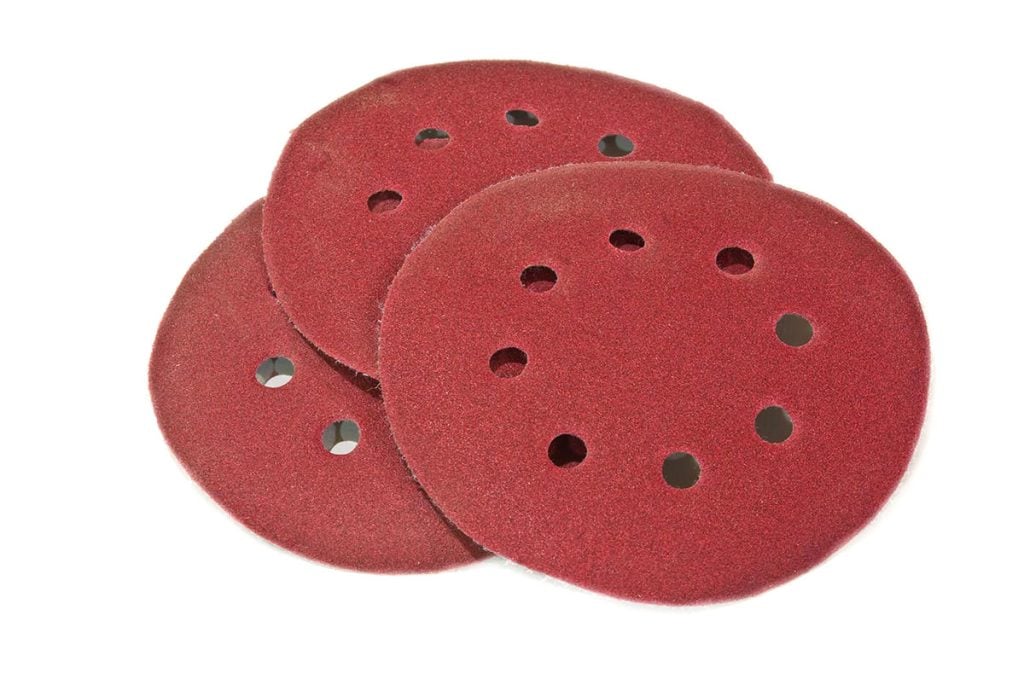
Orbital Sander
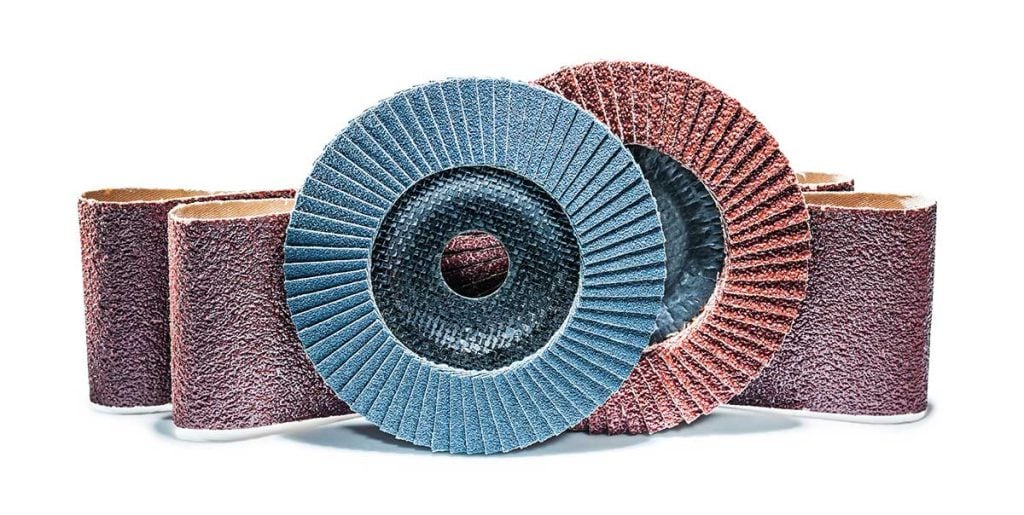
Sanding Disks
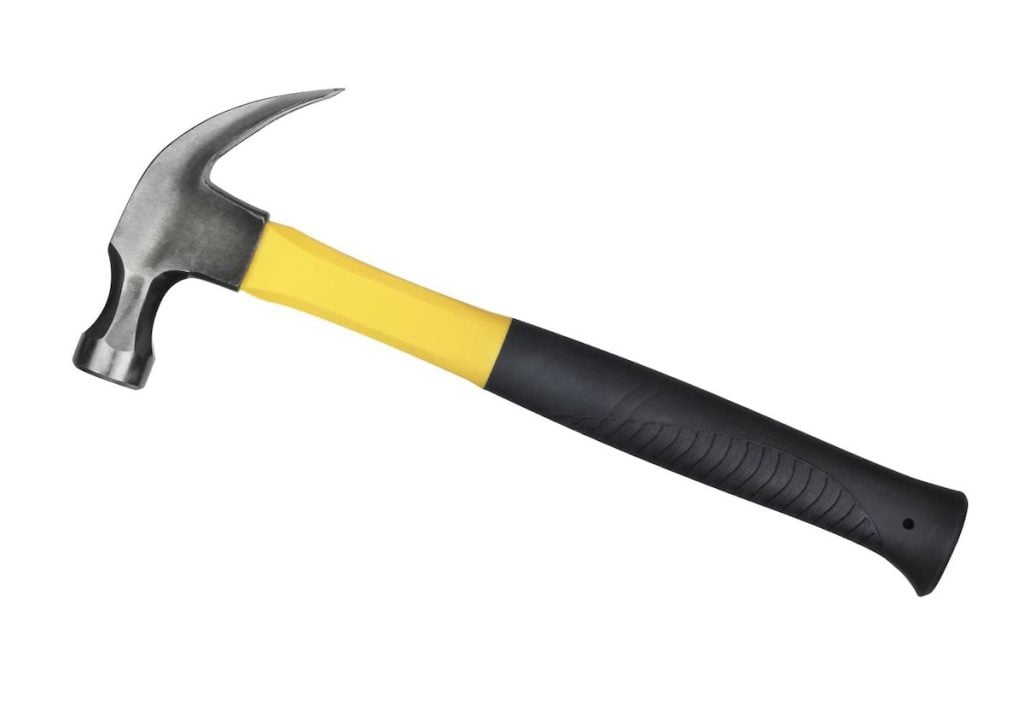
Hammer
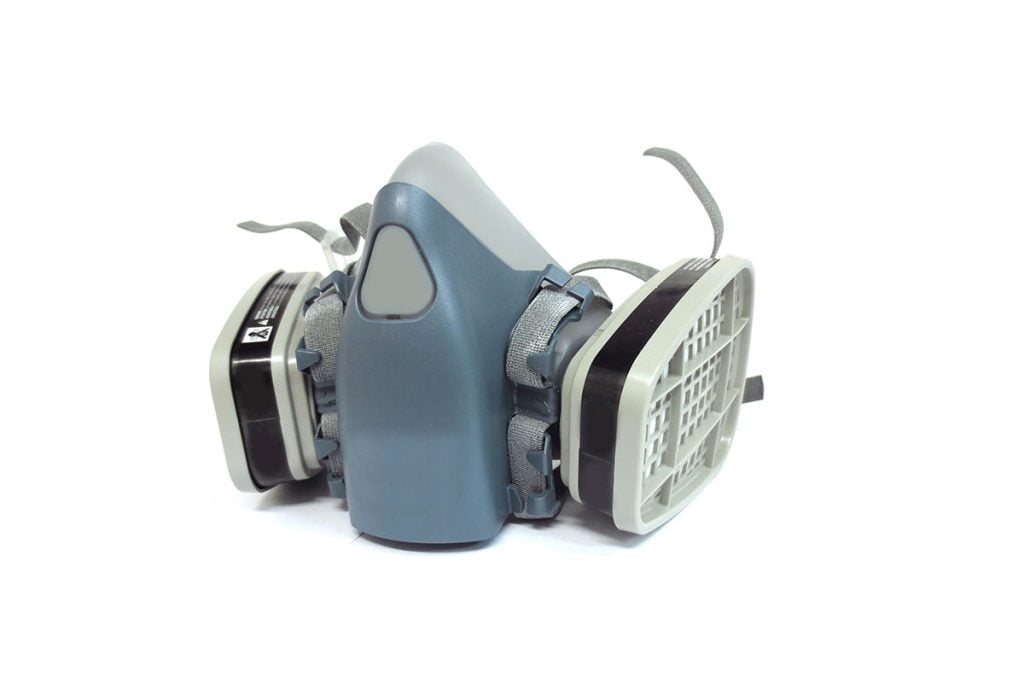
Respirator
Sanding Pads
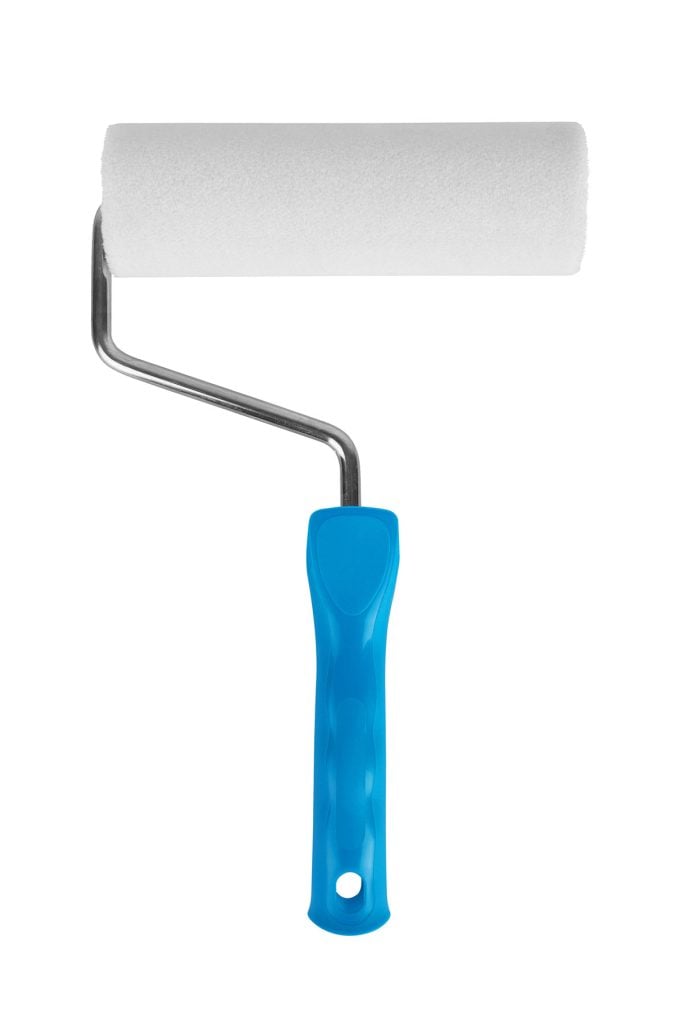
Foam Paint Roller

Soft Foam Brush
Add Your Heading Text Here
Supplies
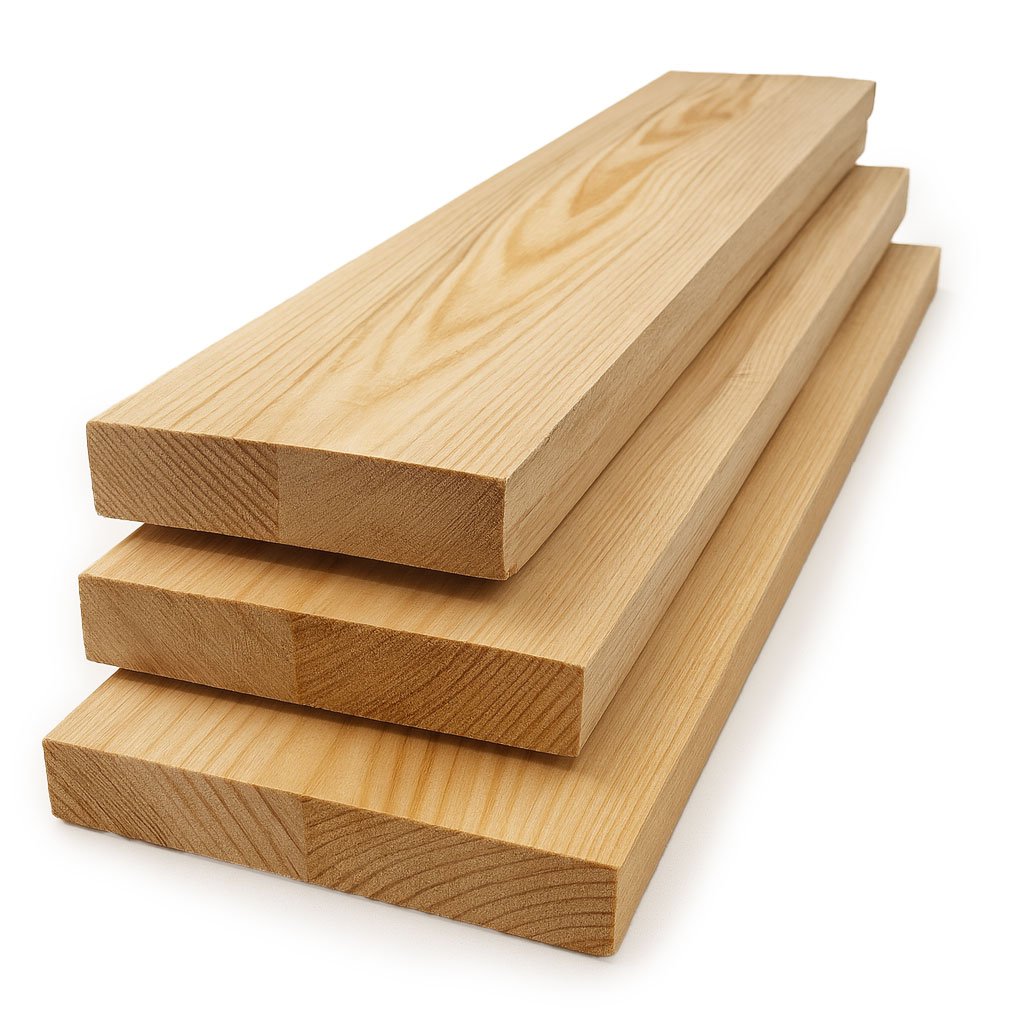
Wood Planks
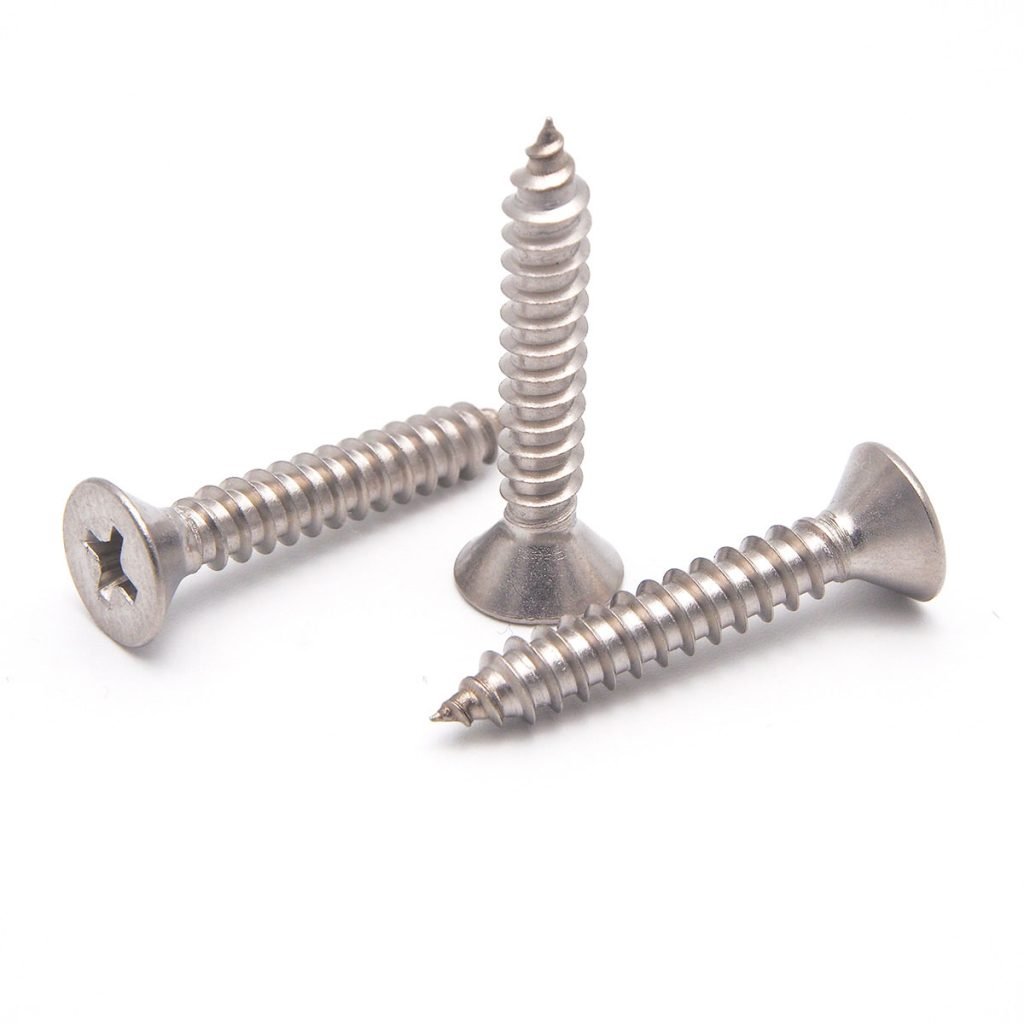
Screws
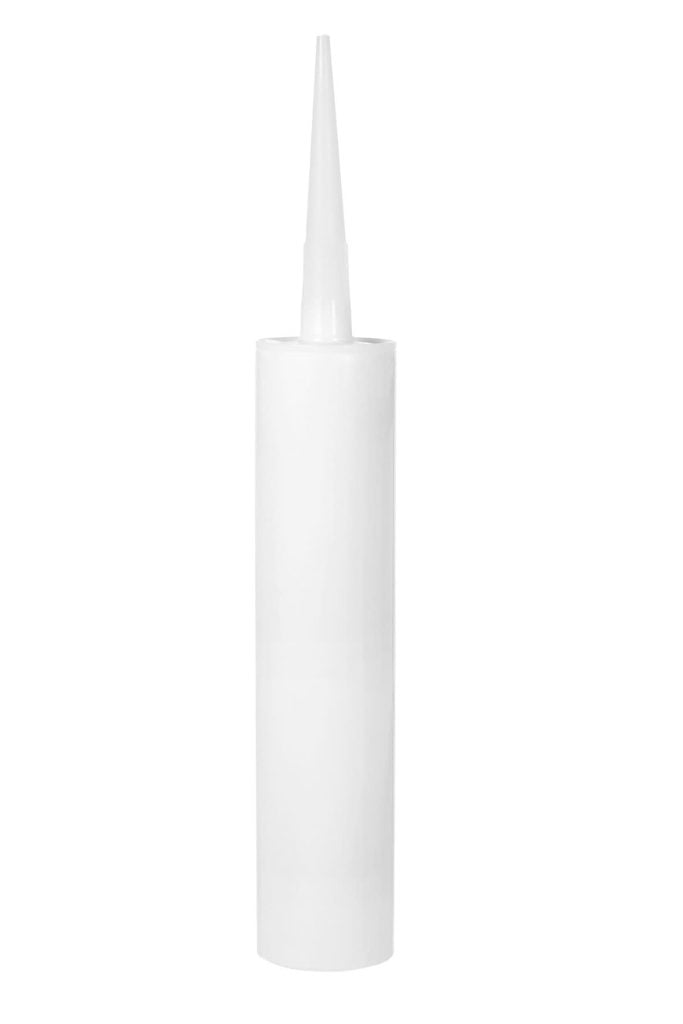
Silicone Caulking
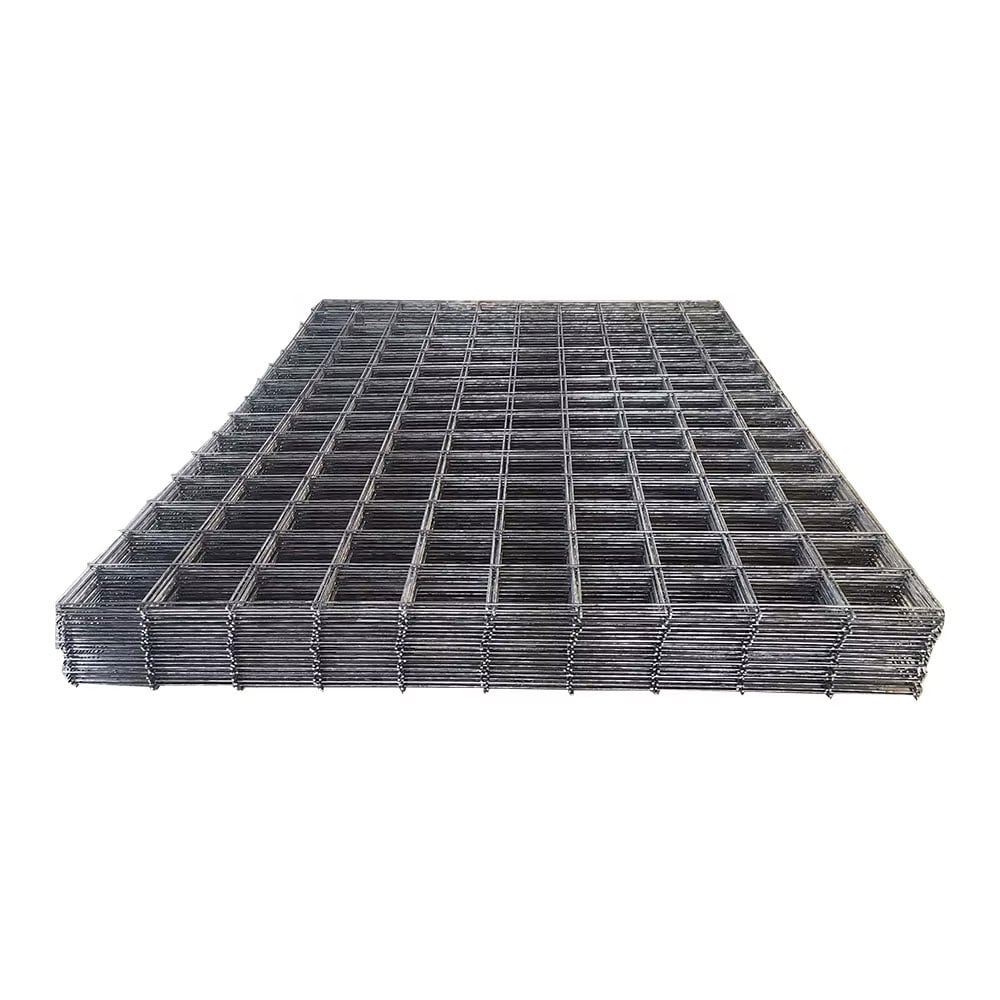
Reinforcement
Mesh or Rebar
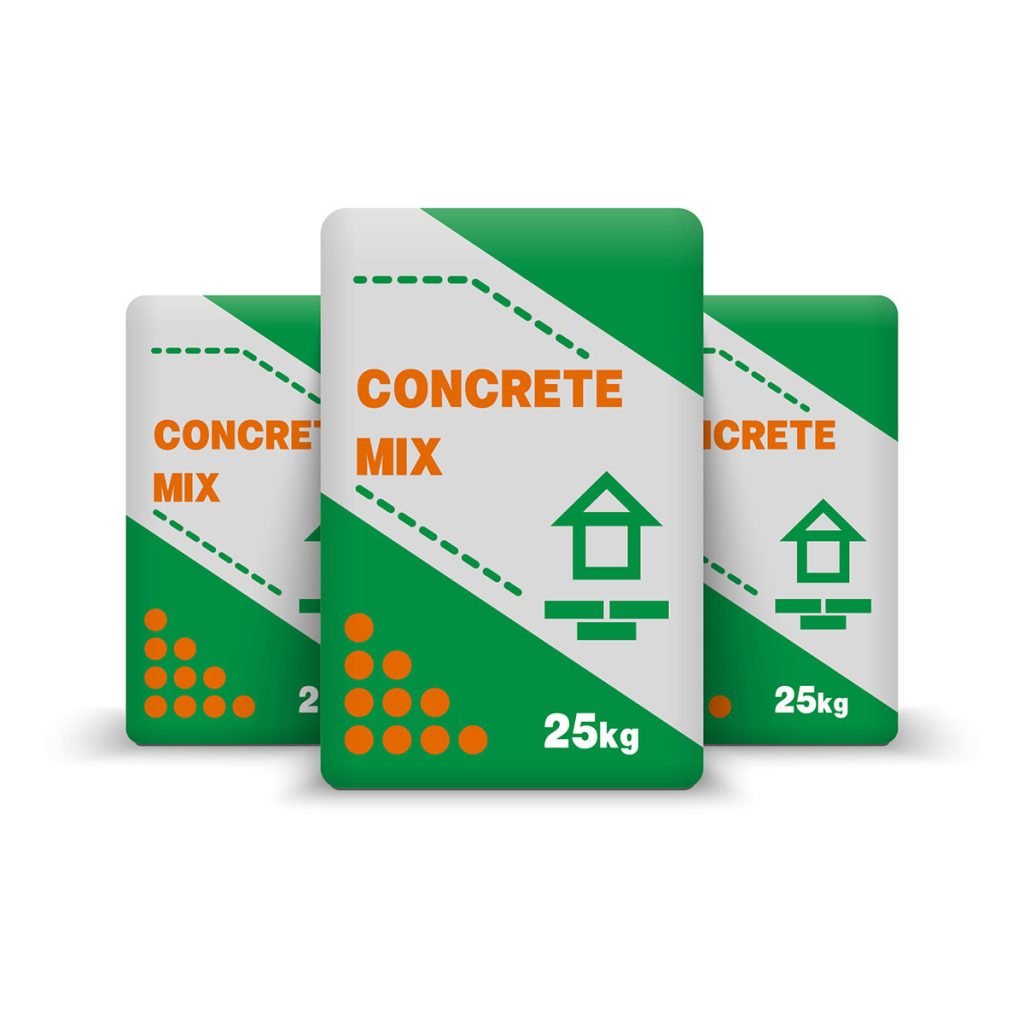
Concrete Mix
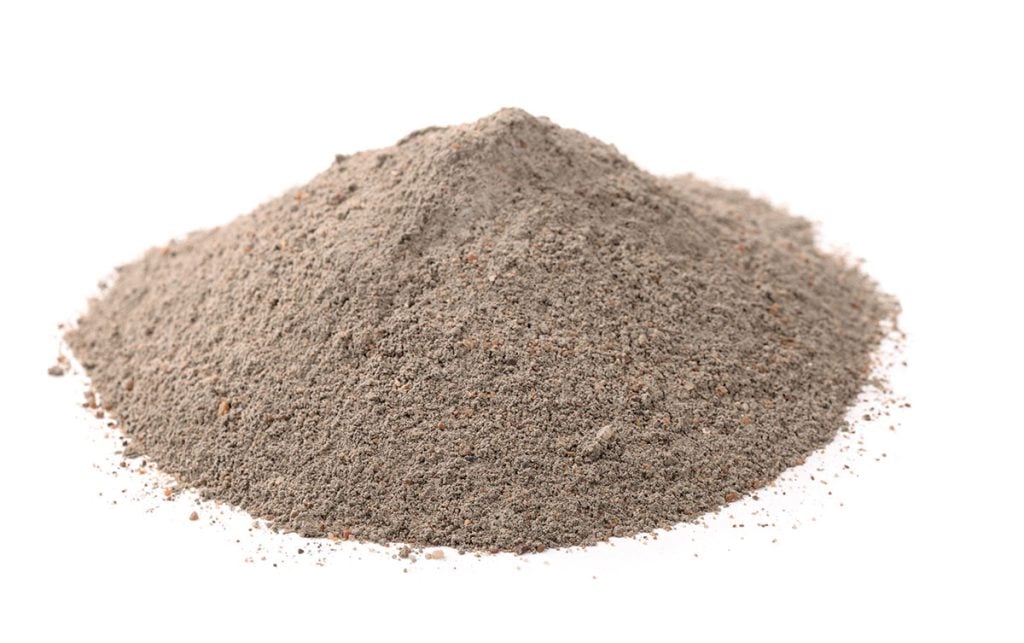
Concrete Sand

Food-Safe Concrete Sealer
How to Make Outdoor Concrete Countertops
Now that we’ve got the material list out of the way…
It’s time to make your outdoor countertops!
There are two methods you can use for your outdoor BBQ concrete countertops. One involves pouring your concrete into a separate mold. You’ll then move the finished countertop and place it on your island. This is known as the pre-cast method.
The second method is pour in place outdoor concrete countertops. You attach a form to your mostly-installed island… And pour the concrete right on top.
Generally speaking, pour in place concrete tends to be more accessible to DIYers… So that’s the method we’ll be discussing today.
And to help bring you some insider knowledge… We enlisted the help of Jon Bell, who serves as the head of manufacturing at RTA Outdoor Living.
He has 25 years of experience working with concrete! 14 of those years have been spent working specifically on decorative concrete.
For those unfamiliar with the term… Decorative concrete involves projects such as stamped patios, retaining walls, and concrete countertops for outdoor kitchens!
So naturally, there’s no better person to ask for advice!
Without further ado… We’ll start with creating the concrete countertop form.
1. Create the Concrete Countertop Form
It’s time to grab your wooden planks and start cutting!
Well… Not so fast.
Before you start making the cuts for your form (or mold)… The first step is take some measurements.
Carefully measure the top perimeter of your outdoor kitchen. This includes the grill or outdoor sink cutouts as well. (Your mold should go around all appliances.)
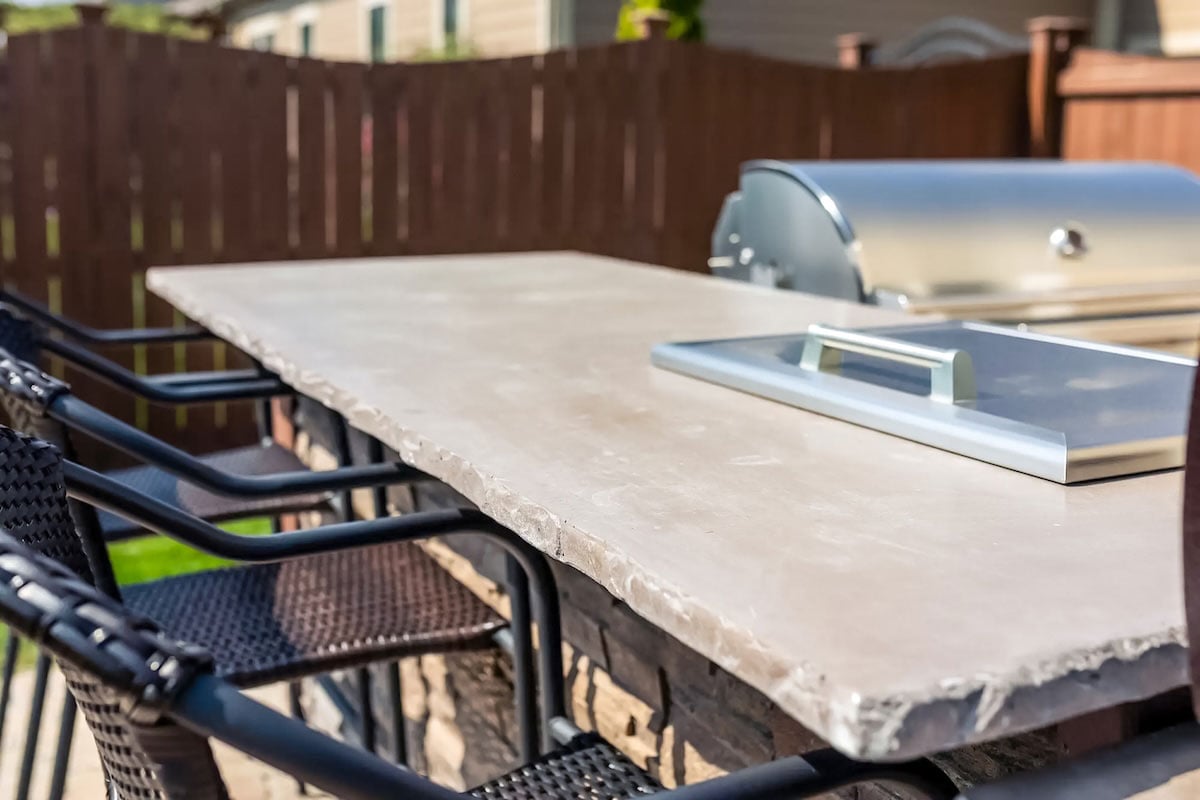
Make sure to account for the desired amount of overhang too! Jon suggests leaving 1 1/2 inches of overhang for most grill islands.
From there, you’ll be able to start crafting the form. This will comprise of two layers.
For the bottom, the planks will lay flat. This will catch all of the concrete for the base.
The side forms will be vertical planks directly attached to the outside of the bottom planks. This will catch the sides of your concrete countertop.
Make the necessary cuts… And it’s time to put the form in place.
2. Put the Form in Place
We have to admit… putting the form in place correctly can prove to be a tricky task.
Why?
Some outdoor kitchen cabinets don’t have a clear place to attach the form to. Especially if your island is already finished.
That said, there is a good workaround.
You’ll be screwing the form into the top layer of your outdoor kitchen.
For most DIY projects, you’ll be using cement board for this layer.
Screw the wood form into the underside of this top layer. There should be a bit of a lip that you can screw into.
Be sure that your form is well supported! “Concrete is heavy and has a lot of pressure when there’s water in it. So what people will run into is they won’t support things well enough and it will want to give and blow out on you,” Jon cautions.
If you have a small overhang of about 1 1/2 inches… Your form should be well-supported as-is.
But if you want a large overhang, support your forms with wood planks that extend to the ground. You could also choose to use column kickers for this task. These will be even more sturdy.
As you’re working, make sure the pieces are level.
Once complete… You’ll want to seal up the form.
Use the silicone caulk to seal up all the joints. Remove any excess caulk for consistent edges. This will ensure no concrete leaks out to make a huge mess!
Next step?
Place reinforcements.
3. Prepare Reinforcements
While concrete is quite a tough material on its own… It needs some help to truly become nearly-indestructible.
Hyperbole aside…
Reinforcing concrete outdoor kitchen countertops is a critical step!
As Jon puts it, “Concrete does two things: it gets hard, and it cracks. Reinforcement keeps it from cracking.”
So what are your options?
You could choose either mesh or rebar to reinforce your outdoor concrete countertops.
There are considerations for both… So let’s “call in the reinforcements”!
Considerations for Mesh Reinforcements
Compared to rebar… “Skrim is going to give you a lot more flexural strength. When you set your grill in there and that concrete slab is spanning from end to end, it allows the concrete to actually move without breaking,” Jon explains. (Skrim is the industry-term for mesh.)
Of course, this is a good thing! Especially if you have to move your countertop around.
But in the case of pour in place… You won’t be moving your countertop. So extra flexural strength is less of a concern.
Mesh tends to be a bit easier to work with, so it is a common choice with homeowners.
To prepare your mesh… carefully roll it out over the form of your countertop. Cut the mesh to fit inside the entire surface of your form.
The mesh will be placed later on, when we reach the pouring step.
Now, let’s see about the considerations for rebar.
Considerations for Rebar Reinforcements
Mesh sounds pretty good… What about rebar?
“In my opinion, rebar’s going to give you more structural strength. It will help you with those corners off the grill,” Jon explains.
If you’re willing to put in a bit more elbow grease… We prefer using rebar for concrete countertops. (It’s what we use at RTA, after all!)
However, you must choose the correct rebar material!
Do not use steel rebar. Steel rebar will make concrete ghost. This means the minerals in the concrete are attracted to the steel and leaves dark spots exactly where the rebar is,” Jon warns.
That’s unsightly! Now that steel reinforcement is out…
What can you use?
Composite rebar is the clear choice. You will not experience ghosting. As long as you don’t place it too close to the surface, you won’t even know it’s there.
To prepare your rebar… It’s a similar process to mesh. You want to create a grid pattern with your rebar.
So lay the pieces out across your form and cut them to the size you need. Set them aside for later when you’re pouring.
But before you pour your outdoor concrete countertops… You still need to make the concrete itself!
4. Prepare the Concrete Countertop Mix

You can’t pour concrete if you don’t have a mix!
At its core… Concrete is a basic recipe. You have the cement mix, aggregate, and water. (Aggregate includes things such as crushed stone, gravel, or sand.)
At the same time, there’s an endless list of fibers you can use to create a high strength concrete mix.
Why are fibers important?
“It’s just another step of reinforcing to prevent cracking,” Jon shares.
For DIY outdoor concrete countertops poured in place… Look for a mix that contains fiberglass.
More specifically, a long glass fiber. You don’t have to use this type of fiber, but it’s what Jon recommends. (And who are we to contradict the expert?)
As Jon puts it, “You’re going to get more flexural strength out of it.”
For you, this means reduced cracking, tension from appliances, and better reinforcement overall.
So you’ve got the perfect concrete mix. What else do you need?
If you want to add color to your countertops, you’ll also need to add pigment. But aside from that… just water and sand. Concrete sand, to be more precise.
The manufacturer of your concrete mix will have a recommendation for ratios… So just stick to the instructions there.
Pour everything you need into a 5 gallon bucket or wheelbarrow… And get to mixing!
When mixing, pay attention to the consistency.
Considerations for Concrete Countertop Consistency
Why is consistency so important? A few reasons.
If your concrete is too thick… You’ll have trouble smoothing it out.
Your first instinct to fix thick concrete will be to add water. That’s actually not a good idea!
“99% of people say to add water to improve flow, but that will weaken your concrete,” Jon cautions.
Well, you don’t want to weaken your concrete… So what’s the alternative?
Jon recommends adding water reducers to fix concrete that’s too thick.
Essentially, water reducers will improve the flow of concrete without actually adding water.
Overall, Jon recommends to “stay within or underneath the water usage for your mixture”.
When you’ve reached the Goldilocks zone on consistency… It’s time to pour concrete.
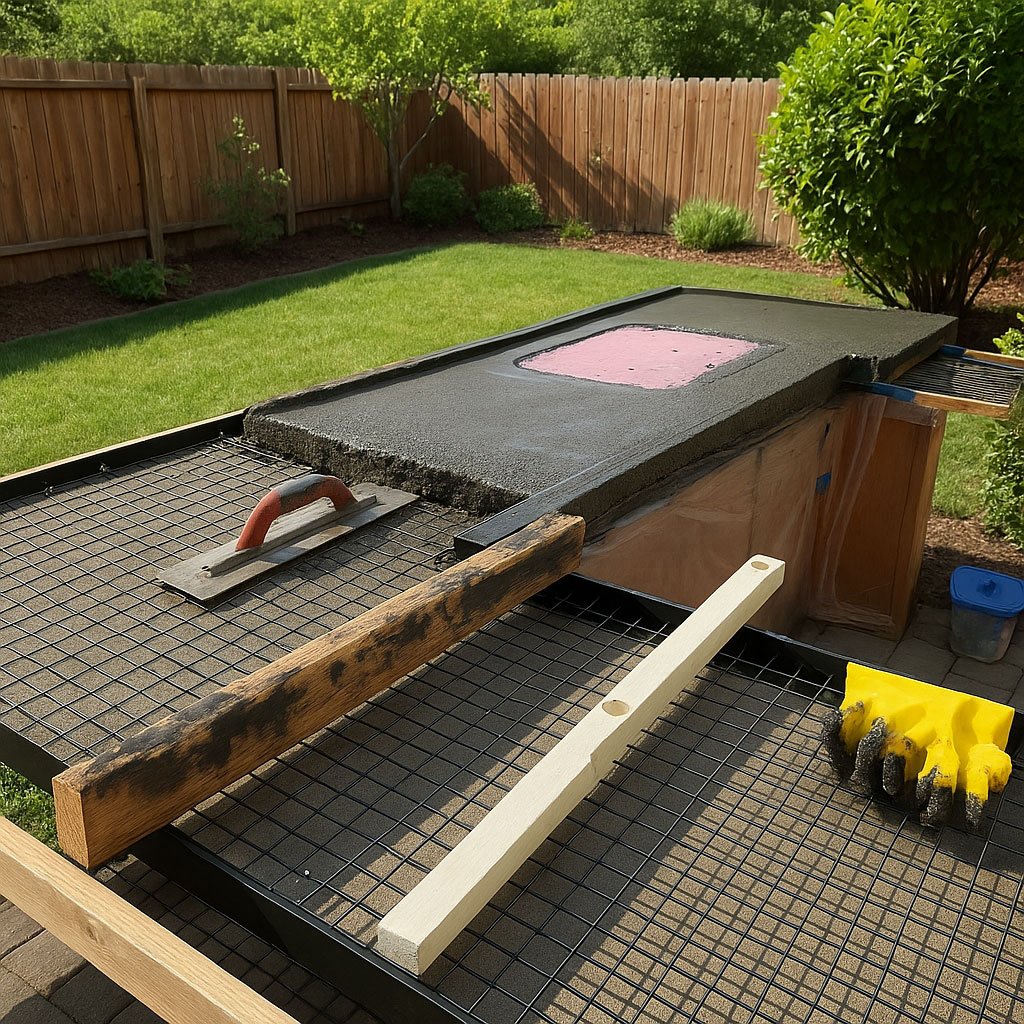
5. How to Pour Outdoor Concrete Countertops
Now here’s the exciting part!
Start pouring your concrete into the form on your outdoor grill station. Using your magnesium float, spread the concrete into an even layer.
But don’t pour too fast!
You need to place your mesh or rebar in the bottom half of your countertop.
So pour a thin layer that covers the entire form.
For rebar, it’s ideal to have it sitting 1/4″ off the bottom of the countertop. With mesh, you don’t have to be as precise.
Once your reinforcements are in place, continue pouring.
Take care to fill in every space… You want an even finish!
Continue to pour and spread concrete until the desired thickness is achieved.
Then, you will screed the excess concrete with your 2×4 plank.
Screed?
This means you’ll be scraping the excess concrete off the top of your concrete counters.
Then it’s time for step 6!
6. Remove Air Pockets
Immediately after pouring your concrete… Remove the air pockets!
It’s essential to do this while the concrete is still wet. Otherwise, you’ve missed the boat and may end up with large voids or holes.
While this won’t cause a structural problem… It will cause an irregular shape and require some post-production work. (You want your summer kitchen to look flawless!)
So how do you remove air bubbles?
It’s simple. You can use a palm sander (without sandpaper), a hammer, or a rubber mallet.
If using a palm sander… Press it against the side of the form and slide across the perimeter. The vibration should shake the majority of air bubbles out.
It’s a similar concept with a hammer or mallet. Tap along the edge of the form to get air bubbles out.
Next!
7. How to Finish Outdoor Concrete Countertops
Everyone wants their countertop to have the perfect finish. So once again, we asked Jon for his advice.
“To be honest with you, to finish the concrete, it’s half talent and half patience. Knowing when to trowel it, and when not to,” he says.
While it may feel like a non-answer… It’s true! Working with concrete is an art. Understanding how it behaves takes time and experience to understand. (That’s why a high-quality contractor gets paid the big bucks!)
But regardless of your experience level… Here’s what you can expect when finishing your countertop slabs.
While cure times vary… An hour or two after pouring, your concrete will begin to harden.
At this stage, it’s time to break out your stainless steel finishing trowel.
Although not required… Running over the surface with this trowel will create a smoother finish.
It only takes a couple minutes, and is actually quite satisfying!
Now you get a break. No more work for another 24 hours!
8. Remove the Forms
While perfection is ideal, it’s not realistic! Especially when it comes to a DIY outdoor kitchen project.
But that’s okay… It can be dealt with.
All you need to do is fill back in the holes with a small batch of fresh concrete.
Fill the voids with your fresh concrete, smooth it out, and let it dry.
Now let’s head over to the finishing steps.
9. Fill the Voids
While perfection is ideal, it’s not realistic! Especially when it comes to a DIY outdoor kitchen project.
But that’s okay… It can be dealt with.
All you need to do is fill back in the holes with a small batch of fresh concrete.
Fill the voids with your fresh concrete, smooth it out, and let it dry.
Now let’s head over to the finishing steps.
10. Sand the Top and Sides
To make your countertop as smooth as possible… You’ll want to sand down the top and edges.
Begin using your orbital sander with the roughest sanding pad. (Remember your respirator!)
Take your time to evenly sand the entire surface of your countertop.
Repeat the process with finer pads until the desired surface smoothness is achieved. This also allows you to shape the edges a bit!
11. Cut Excess Pieces
This step depends on the way you created your concrete forms.
For many built in grills… There’s a small jut-out on each side that needs to fit inside the concrete countertop.
It’s a small detail, and you may not have accounted for this when making your form.
If not, you will have to cut those pieces out.
Mark it up with a pencil and speed square… And carefully cut it out with your circular saw.
Afterward, you may opt to sand these sections to match the rest of your concrete countertop.
Now, you’re nearly through. One more step!
12. How to Seal Outdoor Concrete Countertops
Applying the sealer will not only improve the appearance of your finish… It will also protect your countertop from the outdoor elements.
Choose an outdoor concrete countertops sealer that is food-safe.
For application, using a foam paint roller for the top tends to be the most even and efficient method.
To seal the sides, use a foam brush to ensure all crevices are covered.
While you can leave it at just one layer… We prefer a second layer of sealer for optimal protection.
Then you’re officially done!
After reading all this… You may actually be second-guessing yourself.
Is it truly worth making your own concrete countertops?
Let’s look at the pros and cons.
Concrete Countertop Solution
Pros of DIY Concrete Countertops
More than likely… Saving money is one of the reasons you’re considering making DIY outdoor countertops.
It’s a compelling reason!
As Jon says, “It’s cost-effective. You’re cutting the labor out”.
And while it may sound cheesy… Another pro is the sense of accomplishment you’ll have!
“To me, you’ve got a little pride in pouring your own countertop. Your friends can sit around and have a drink on it, barbecue on it, and talk about it,” Jon adds.
And while there are some strong advantages… what about the other side of the coin?
Cons of DIY Concrete Countertops
While you will save some money… You will pay for it in your labor!
Making a concrete countertop from scratch is not for the faint of heart.
As Jon puts it, “Concrete is going to do what it wants, when it wants, and you cannot control it.”
The materials are heavy to work with… And it’s a laborious task in general.
Another issue is the risk of making an error. Perhaps you don’t map your cutouts correctly. Well, your outdoor kitchen appliances won’t fit properly!
If the opening is too small… You can cut away material. But if it’s too large? You’ve just wasted a bunch of time, money, and materials. There’s no going back on it, you simply have to re-start the process.
Or maybe you don’t properly account for the thickness of the countertops. If you make your countertops too thick… The grill won’t sit flush with the bottom of the appliance opening. There will be a gap there.
It’s not the end of the world… But it’s a flaw that you will always notice.
Speaking of, aesthetics may be an overall disadvantage to DIY countertops.
Especially with pour in place concrete… You may not be able to achieve a refined finish like a professional would. It requires years of experience!
So if seeing imperfections will eat away at you… You might prefer to purchase a countertop instead.
And yet another disadvantage?
It might seem silly… But there’s no warranty. So if anything goes wrong with your countertop, it’s all on you to fix it.
Most DIYers willingly accept this risk if you’re already building the whole outdoor kitchen. It’s still worth mentioning!
At this point, you may still want a concrete countertop… But you’re not sure about doing this project yourself.
DIY is not the only option!
DIY Concrete Countertops Outdoor Without the Work
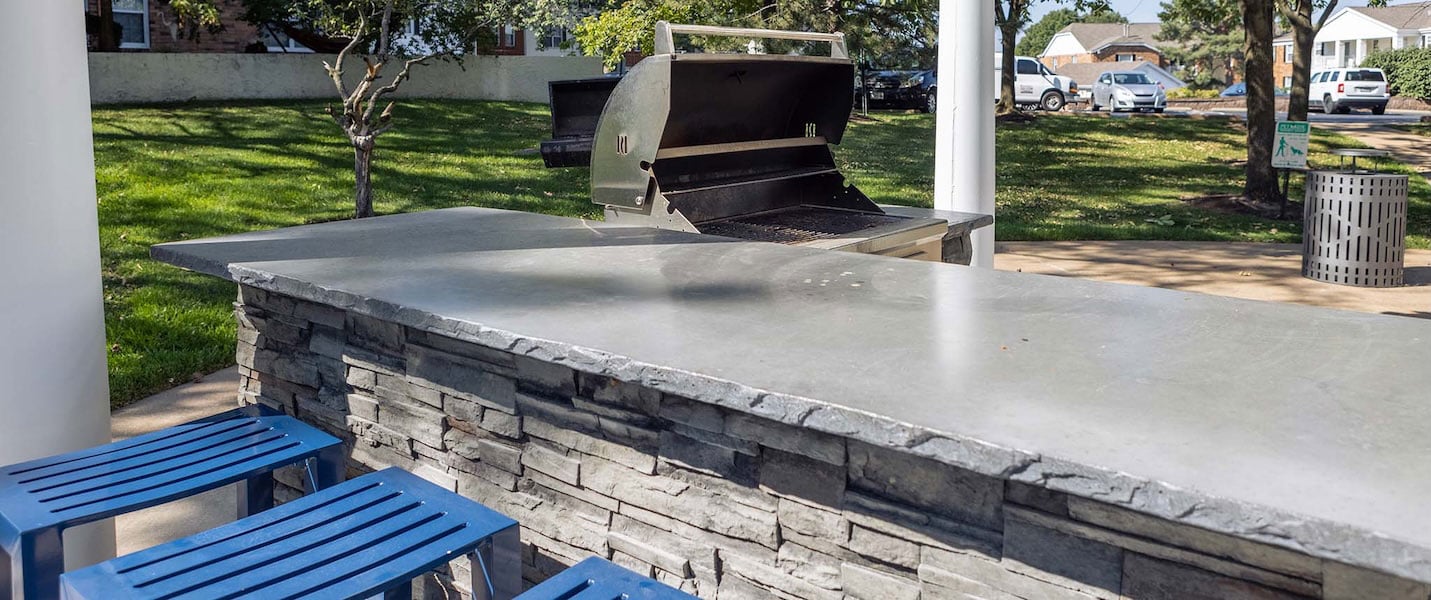
Putting the DIY aspect aside… Concrete is an excellent countertop material for outdoor kitchens.
Firstly, it’s durable in all weather conditions. Snow, rain, ice, hail, blistering-hot UV rays… Concrete is unaffected by all.
That also makes concrete near-unmatched when it comes to longevity. For example, our concrete mix is rated for 100 years!
We reinforce our high performance concrete countertops with a proprietary fiber blend and composite rebar. That way, it’s truly tough as nails.
You’ll also have access to a variety of edging details and colors to create that perfect finish. Whether you prefer a chiseled or clean edge… We’ve got you covered.
If you couldn’t tell… We’re passionate about all things concrete.
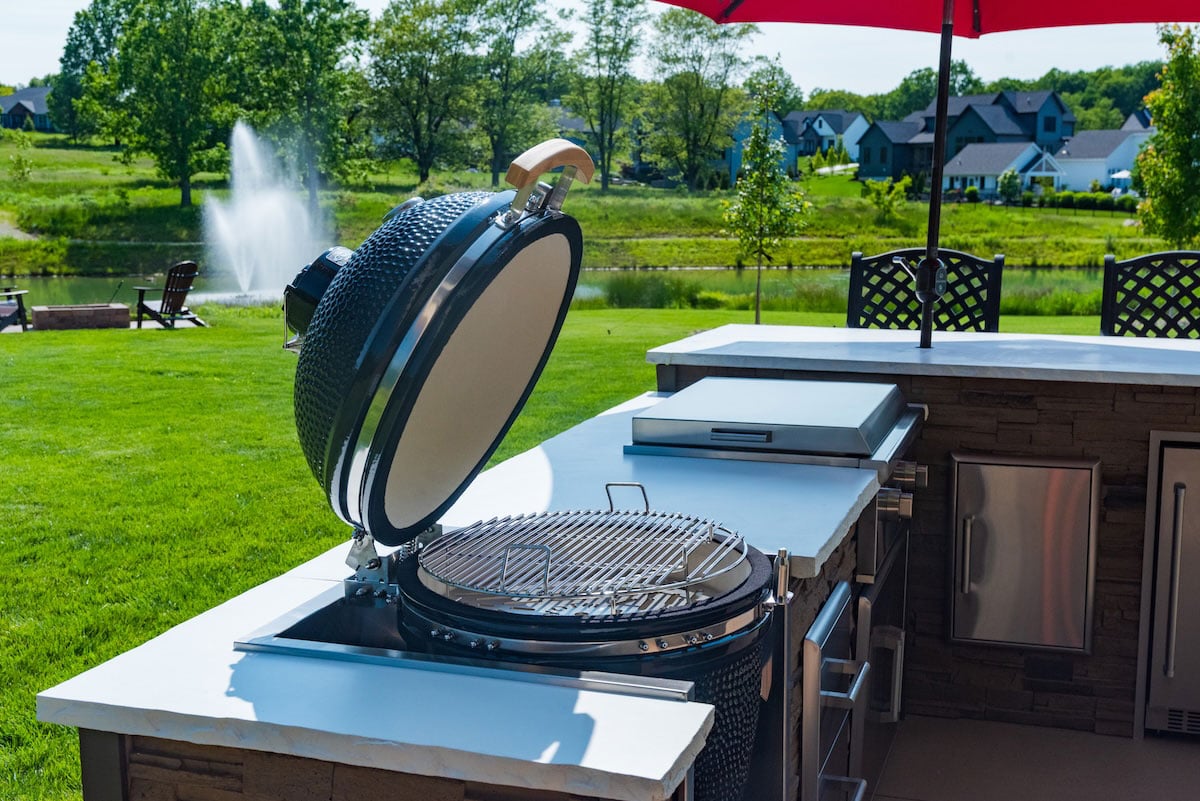
After all, our outdoor kitchen kits are made from it!
So if you’re looking for a top-notch concrete countertop for your outdoor kitchen project… There’s no better place to look.
Not only do we offer customized outdoor kitchen packages… Your countertop will be just as unique as your layout.
As Jon put it, “It’s hard to repeat concrete. It’s like a fingerprint or snowflake. No one else is going to have that top.”
It’s a beautiful thing, truly!
Point is, if you’re looking for a custom outdoor kitchen solution, complete with custom concrete countertops… There’s no better option than RTA.
To see what’s possible, try our free online design tool. You’ll find tons of concrete panel (and countertop!) finishes and colors to suit your aesthetic.
In just a few clicks… You’ll have a complete design customized to your exact desires.
Sounds great right?
It truly is. So we won’t keep you any longer…
Start designing your island, and we’ll be in touch about your outdoor bar and kitchen build!
Need Help With Your Plans?
FAQ
Generally speaking, yes! Even if you purchase a completed concrete countertop… The price will often be less than granite.
If you choose to build your own concrete countertops… You’ll save even more money.
Concrete is concrete! You have the cement, aggregate, and water.
What really matters are the reinforcements you use. This includes reinforcements in the cement mix.
For outdoor concrete countertops… It’s recommended to choose a mix that contains glass fibers. This will provide improved flexural strength and reduce the risk of cracks.
They certainly can! In fact, it’s quite common.
Most of the time… The cracks you’ll find are small, hairline cracks. These are nothing to be concerned about. They will not affect the integrity of your countertop.
Concrete countertops are an excellent choice for outdoor use!
Moisture and harsh weather conditions will not harm your concrete. Snow, ice, rain, hail… It can handle them all!
A concrete countertop will also last a long time. You can expect most concrete countertops to last as long as 100 years!

